


I've decided to put together a little tutorial for everyone! And who better to help me demonstrate than my adorable little blue-eyed nephew?! :)
I use this tutorial for almost every close-up, whether they have blue eyes or brown! :)
I made this tutorial in Photoshop Cs4 but you may be able to do the steps in Elements if you have the same functions :)
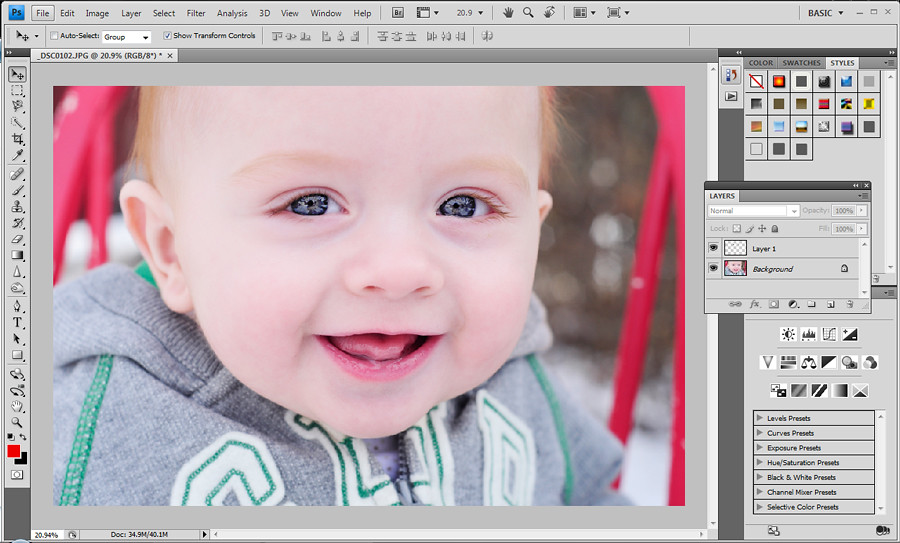
First, start with your SOOC (straight out of camera) image. You may do some minor adjustments (like brightening, cropping, etc.) but I would refrain from using actions until after you do the eye pop. Your subject's eyes may turn out a little wonky ;)

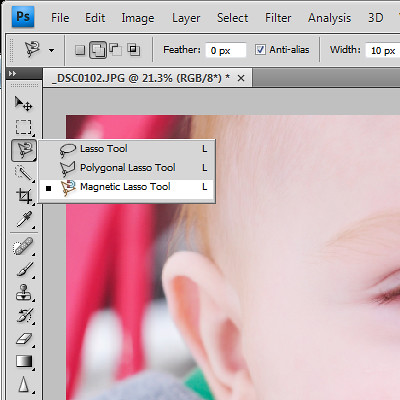
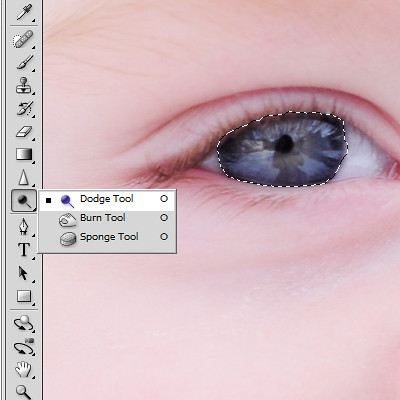
Next, go to your sidebar and select the magnetic lasso tool. You can use another tool, but I find it easiest to select with the magnetic lasso.
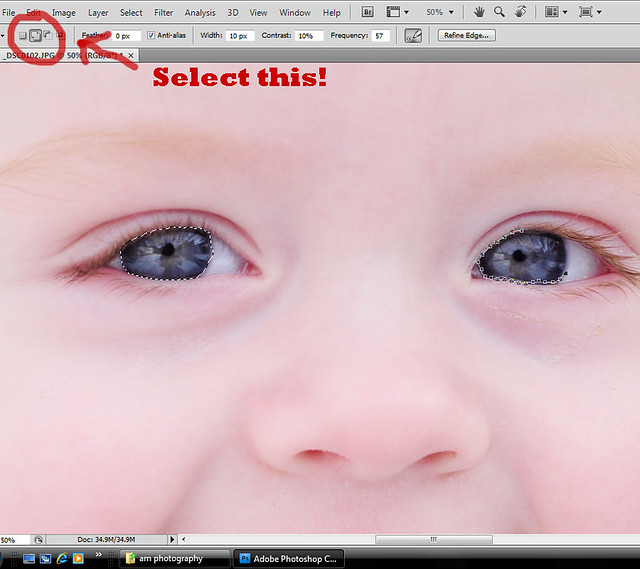
Zoom in on your subject's eyes and select both of them. MAKE SURE you have selected the "add to selection" button first!! If you don't, your first selection will be erased. Be sure to select as much of the iris as possible (and not the white part!)
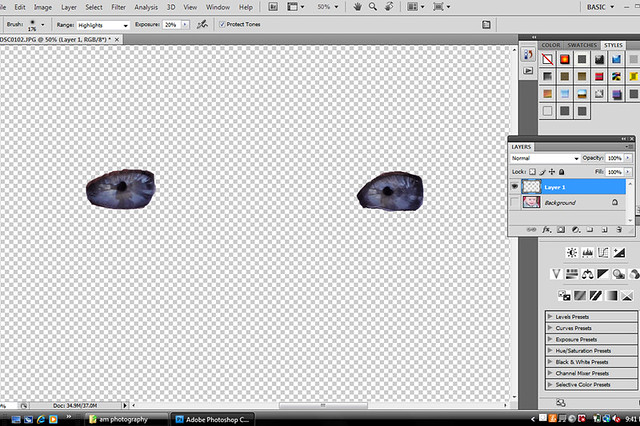
Once you have both eyes selected, select ctrl+J to set the eyes to their own layer and turn the background layer off (it'll be easier to edit just the eyes without the distraction of the rest of the image).
Next, go to your sidebar and select your dodge tool. Set the range to highlights and the exposure anywhere from 10-30.
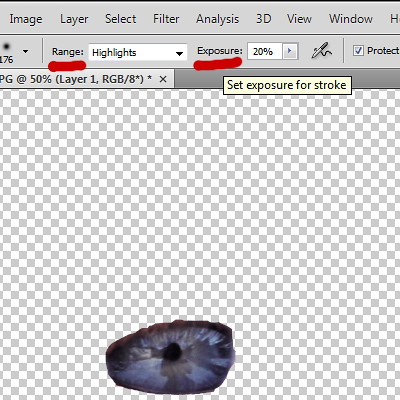
Paint over the entire eye a couple (or a few!) times. Then you want to go back up and set the range to midtones and set the exposure anywhere from 10-30.
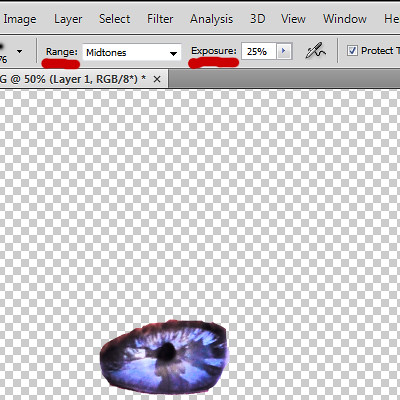
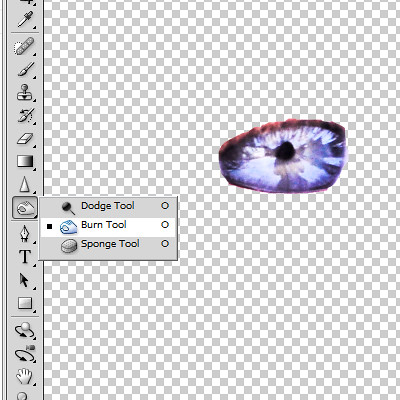
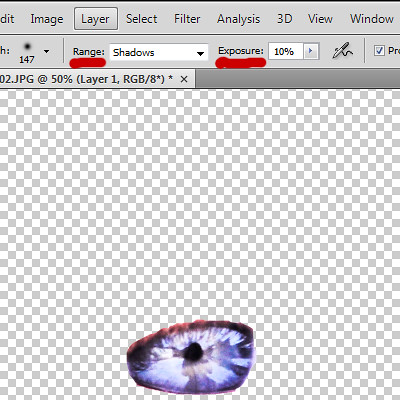
Paint over the eyes again. Next, go back to your sidebar and select your burn tool. Then you will want to set the range to shadows and the exposure to 10 (I wouldn't go any higher).
Paint over the eyes again. Don't worry if your subject's eyes are looking a little 'creepy' that's how they're supposed to look! lol
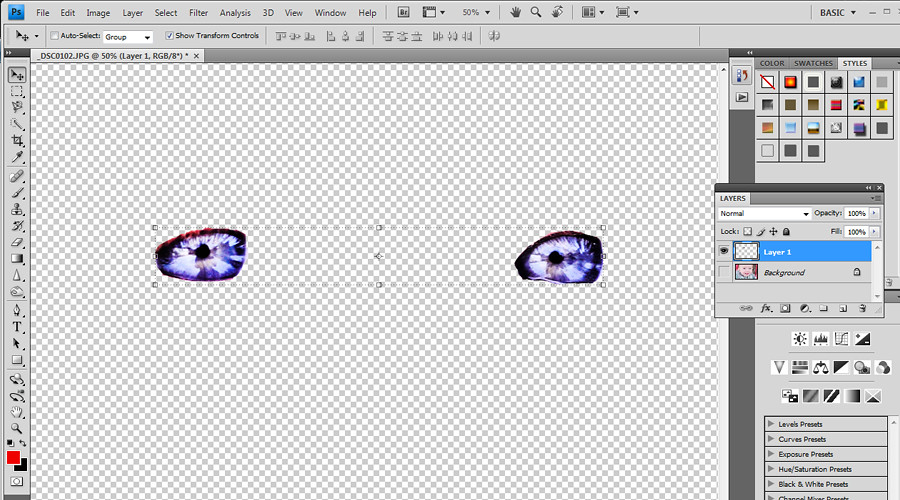
Zoom out so you can see your full image on the screen. It should look something like this (note: your photo will not look exactly like this! the center should be lighter and the outer ring should be very dark.)
Next, go up to Filter and scroll down to 'Other' then select High Pass.
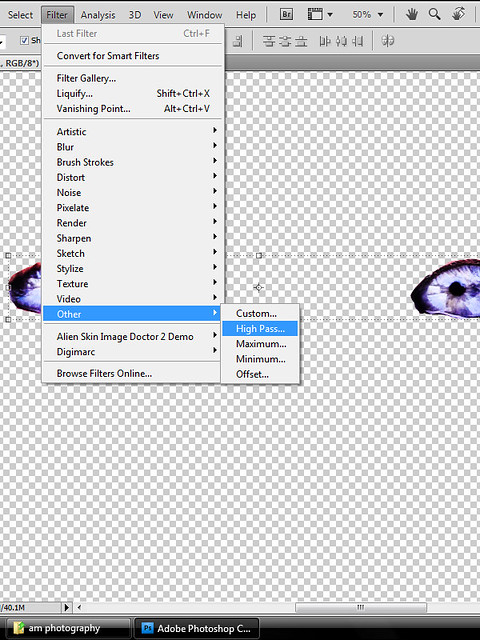
Set the radius to 10 pixels

Now, before you turn your background layer back on (trust me, if you thought the eyes looked creepy before....) set your 'eye' layer to "soft light"
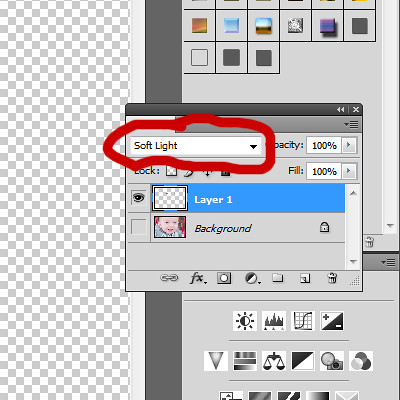
NOW you can turn your background layer on :)
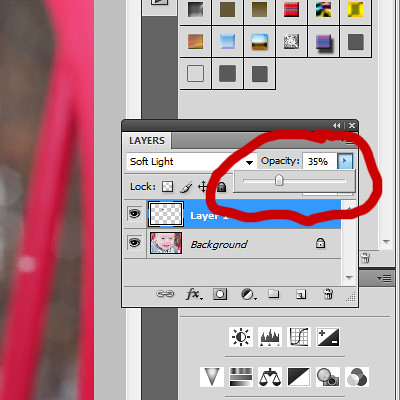
Your subject's eyes are going to look VERY overdone, so to fix that, set your layer opacity low (I've chosen 35 for mine, but it will vary to your photos). REMEMBER: Less is More! There's nothing worse to ruin your photo than those brightly overdone fake-looking eyes. So PLEASE, don't over do it! :)
And wah-la! You're done! You can brighten them up a bit by creating a curves adjustment layer (or various other techniques) and creating a clipping mask to your 'eye' layer.
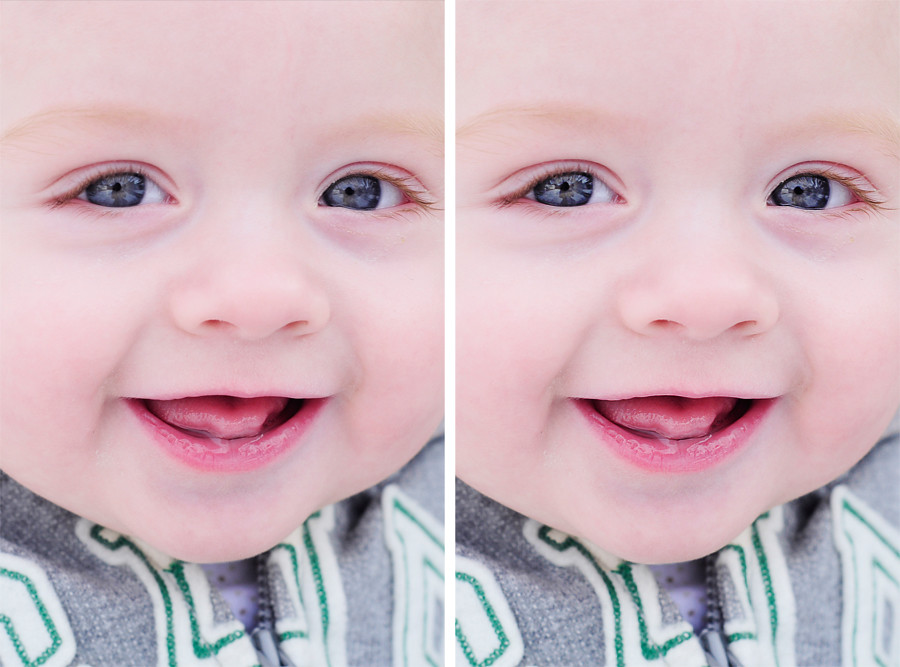
Here's a little before and after for you.....notice the subtle eyes? :)


8 Responses to “Eye Pop Tutorial”
ooo... I'll have to try it this way :)
Thanks Amber!
I hope it's easy! :)
I just tried it and it was very easy. I knew how to do it already but this showed me how to do it and it still look subtle...thanks!
AMBER YOU HAVE THE BEST BLOG! LOVE IT!!
Thank you so much for these tutorials! I love your photography ;)
Thank you so much for these tutorials! I love your photography, it's amazing!
Thank you for the tutorials! I love your photography it's amazing :)
Thank you for the tutorials, I love your photography :)
Post a Comment