I shared a before and after on Facebook last week and I decided to share the tutorial on how I achieved the finished look!
For this tutorial, I used a different photo than the one I shared on Facebook, however I followed the exact same steps. This processing is very basic and I do this almost to every image I edit.
For this tutorial, I used a different photo than the one I shared on Facebook, however I followed the exact same steps. This processing is very basic and I do this almost to every image I edit.
Before I begin the steps, I want to stress how important it is to achieve a good SOOC (straight out of camera) image. I define a good SOOC image as being properly lit, correct exposure, and in focus. I attended the Lullaby Baby Workshop (hosted by Stephanie Krupicka and Michelle Glasser) back in October and it has changed my outlook on newborn photography completely! I would not be where I'm at if it weren't for these two ladies! If you are struggling with your SOOC images or nailing your posing, I STRONGLY suggest attending a newborn photography workshop (both of the ladies I mentioned above offer 1:1 mentoring! *hint*hint*hint*)
Now, on to the tutorial!
Here is my SOOC image:
Now, on to the tutorial!
Here is my SOOC image:
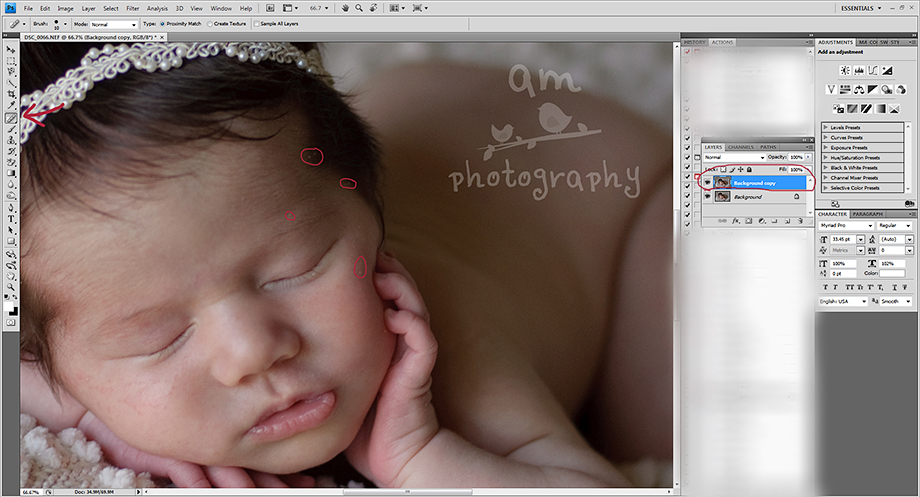
My first step is to clear up any blemishes on baby's skin by using my 'bandaid' tool. Right click and duplicate your background layer (ALWAYS work on a new layer in case you need to correct some mistakes. It's easier to paint on and off your mistakes than to undo a million times and start over). Zoom in on baby's face and with your brush size no bigger than the blemish, click/paint on each mark. The trick is to keep your brush size small! This step may be time consuming depending on your subject's skin, but it is totally worth it!

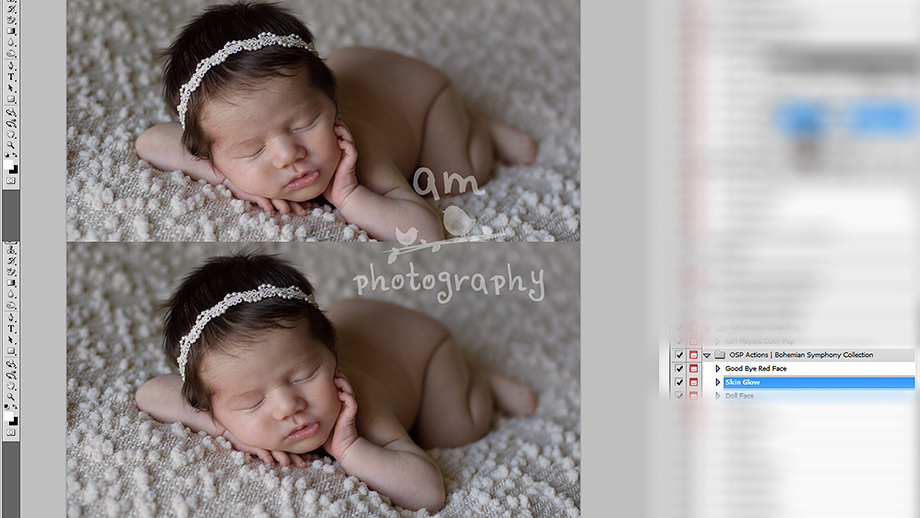
My next step is to run an action by Oh So Posh Photography called Good Bye Red Face. I use this action for EVERY newborn. I take my brush at about 20-30% and 'paint' off the red areas. You may have to adjust your brush size and opacity multiple times to get rid of red areas. Be sure not to over do it and keep your opacity low (you may have to go over some areas a few times) as to keep the skin from looking green.
Next, I use another of my favorite actions from Oh So Posh called Skin Glow. This action offers a soft glow over baby's skin and gives the appearance of smooth skin (very similar to portraiture for those that don't have it). I cannot stress enough how important it is to use this action (or portraiture for that matter) MINIMALLY. This isn't Toddlers & Tiaras folks....keep their skin looking real! ;)
Using the same brush tool and a low opacity, 'paint' the action on over baby's skin being sure to avoid eyes, nose, and lips. I'll admit that I get carried away with this action sometimes so I end up lowering the opacity of the entire action just a smidge ;)

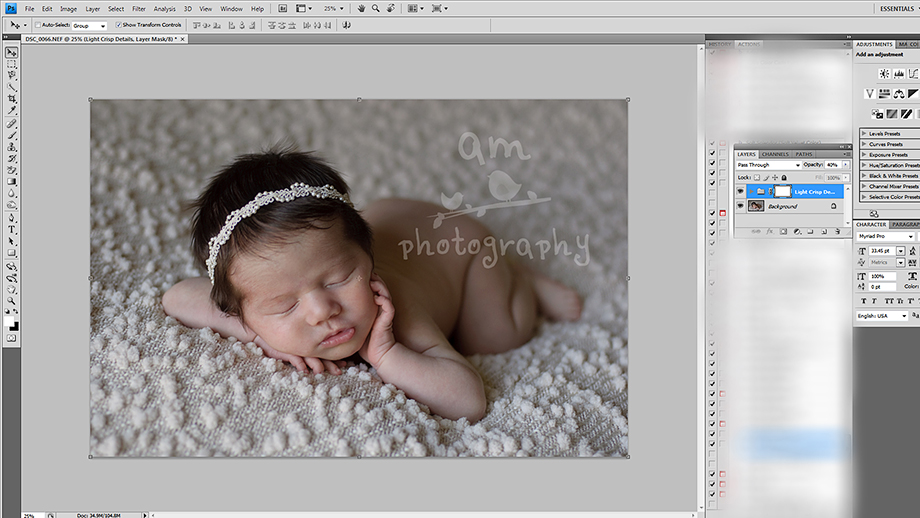
This next step is optional, but I felt like my image needed a little sharpening. I used an action called 'Light Crisp Details' by Paint The Moon.

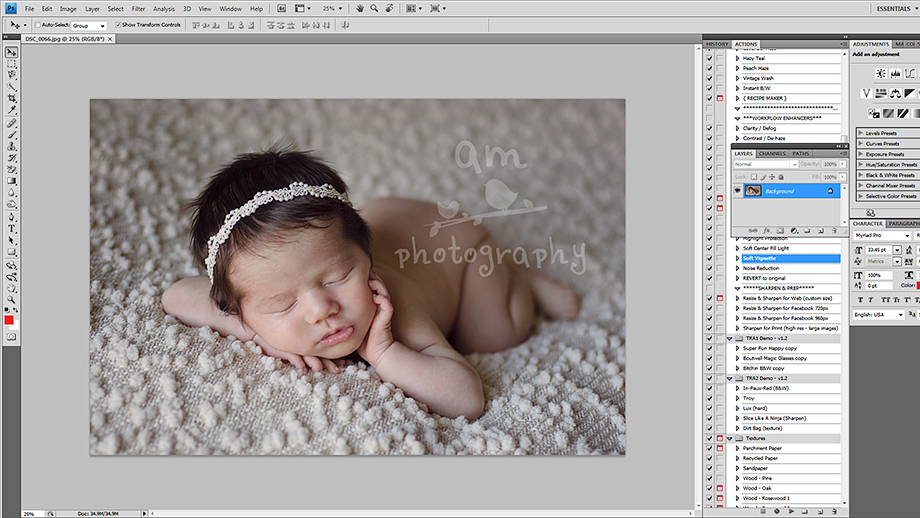
The last two steps are the easiest! I run my favorite two actions from Florabella; Classic Color from the Classic Workflow Collection and Milk from the Luxe II Collection. You can make your own adjustments to each action, but for this particular image, I selected my opacity at 30% for the Classic Color and 20% for the Milk.
And here is the finished look!

Thanks for stopping by! If you found this tutorial helpful please SHARE! If you have some questions, feel free to leave them in the comment section below :)


