It's time again for another weekend recipe!
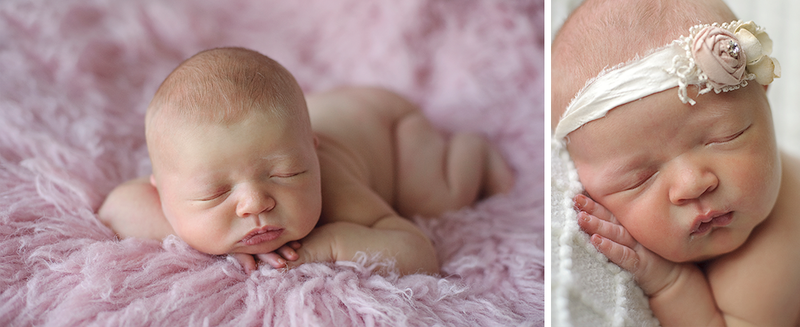
Today, I will show you how to take this photo from this:
To this:
So, very simple, light, and airy :)
What you will need:
Photoshop Cs4 (may work in other versions of photoshop)
Instructions:
First, my white balance was a little off and I've got some funky colors going on in the background. To fix that, I used my lasso tool to select the background (there are many different ways to do this, I just pick whatever's easiest for me). I then created a hue/saturation adjustment layer and brought down the cyan, blue, and yellow sliders.
I then brightened up the whole picture by duplicating the layer and setting it to screen at a very low opacity (like 15%). I then followed the steps from my skin smoothing tutorial to even out her skin a little bit. Don't over do this part because you don't want your subject to look like a porcelain doll.
I then ran Classic Color from Florabella's Classic Workflow set. I use this action at a very low opacity (like 25%) to add just a bit of pop to the photo. Then I run my favorite action, Milk, from Florabella's Luxe II action set. I ungroup the layers and adjust each one as so: warm haze (15%), turn off cool haze, turn off more haze, pure milk (5%), tone (10%), contrast (10%), lighten (10%). Now of course all of these numbers depend on what photo you are working on and what kind of look you are going for. In this photo, I was going for light, soft, and creamy, but not too much. Don't be afraid to mess around with your settings.
I also last minute cloned out the teddy bear poking up (and I didn't do a very good job, because I just noticed it before I was about to post this! lol).
I also last minute cloned out the teddy bear poking up (and I didn't do a very good job, because I just noticed it before I was about to post this! lol).
and wa-la!
Feel free to share links in the comment section below if you try out this recipe! ;)






Post a Comment