I've been trying to get a tutorial ready for everyone and I just haven't found the time.
Until now. :)
Today, I am going to show you all how I do my skin smoothing. This is in no way 'text book' stuff, but it's how I do it :)
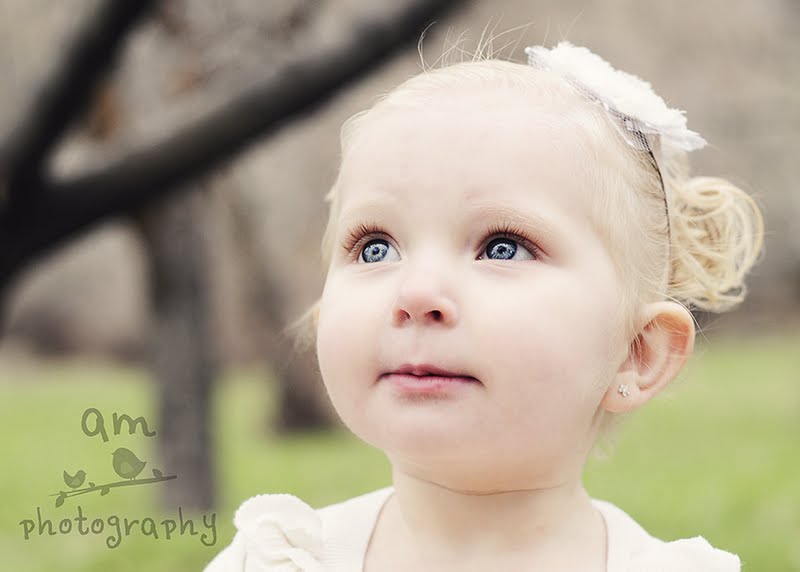
I'm going to use this photo of a little cutie named Addison! I'll show you how I take this photo:
to this photo:
Ok, Step 1:
I crop ALL of my images before processing. For my online proof gallery, I crop all of my photos to 5x7 (or in this case, 7x5).
Step 2:
Selet your eyedropper tool and click on a neutral (neutral meaning not blown out or red spots) spot on your subjects face.
Step 3:
Then you'll want to duplicate your photo layer (right click - duplicate layer). Select your brush tool on the left hand side. Make sure you have a nice size brush (not too big or too small) and set the opacity between 20% - 30%.
Step 4:
Paint all over your subjects face. You may need to go over some areas twice. Try to avoid areas like the eyes, nose, and mouth. It's ok if you go over these areas, I'll show you how to fix it :)
here is a little before and after:
Notice how I painted over her nostrils?
to fix that, we go to
Step 4:
Click on the icon under your layers that looks like a circle inside of a rectangle. This is a layer mask. Making sure you click on the layer mask, take a black brush and 'mask back' your bottom layer. This will erase what you painted on.
Now you're done with the skin! Next, I just did my 'eye pop' tutorial and ran Florabella's "Cashmere" from Luxe I. If you don't have these actions, you need to get some! :)
and Wa-la! You're done :)




3 Responses to “Skin Smoothing Tutorial {Before & After}”
Seriously, I need to hire you to teach me how to do basic Photoshop! you're awesome!
Can you teach me how to do skin smoothing in real life? ;]
Can you teach me how to do skin smoothing in real life? ;]
Post a Comment